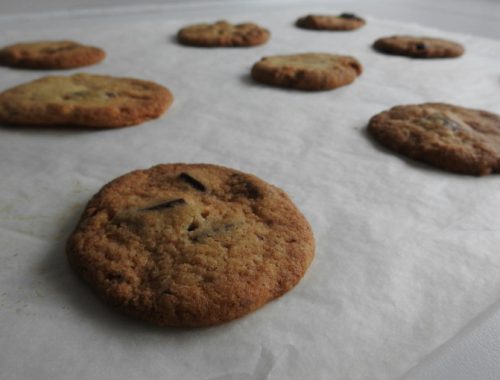
Recipe: Pastry
Baking is one of my favourite things to do. I find baking from scratch to be the most rewarding. Baked goods are still bad for you but I like to think that it is a bit better when you make it yourself. You know what’s in it, you know how much of each product you put in. Also, I like to use as little products as possible. A lot of recipes call for added salt for example, no one needs more salt in their diet if they eat regularly in the Western world. Salt is added to almost everything consumed. Besides, I know people that have a lot of allergies and for them, it’s extra hard to find recipes that work without the thing they are allergic to. A good base can make a whole lot of different cakes and pies. Pastry is a good base for pies because it tastes nice and holds the whole cake together.
Make it vegan
Depending on your tin, (mine was 40cm in diameter) you can make more than one cake. The leftovers can be stored in the freezer and used at a later time. Also, if you use plant-based butter this recipe is completely vegan! I’m not a vegan myself but I have made this recipe vegan and it was as delicious as when using regular butter. No other adjustments need to be made within the process of making the pastry.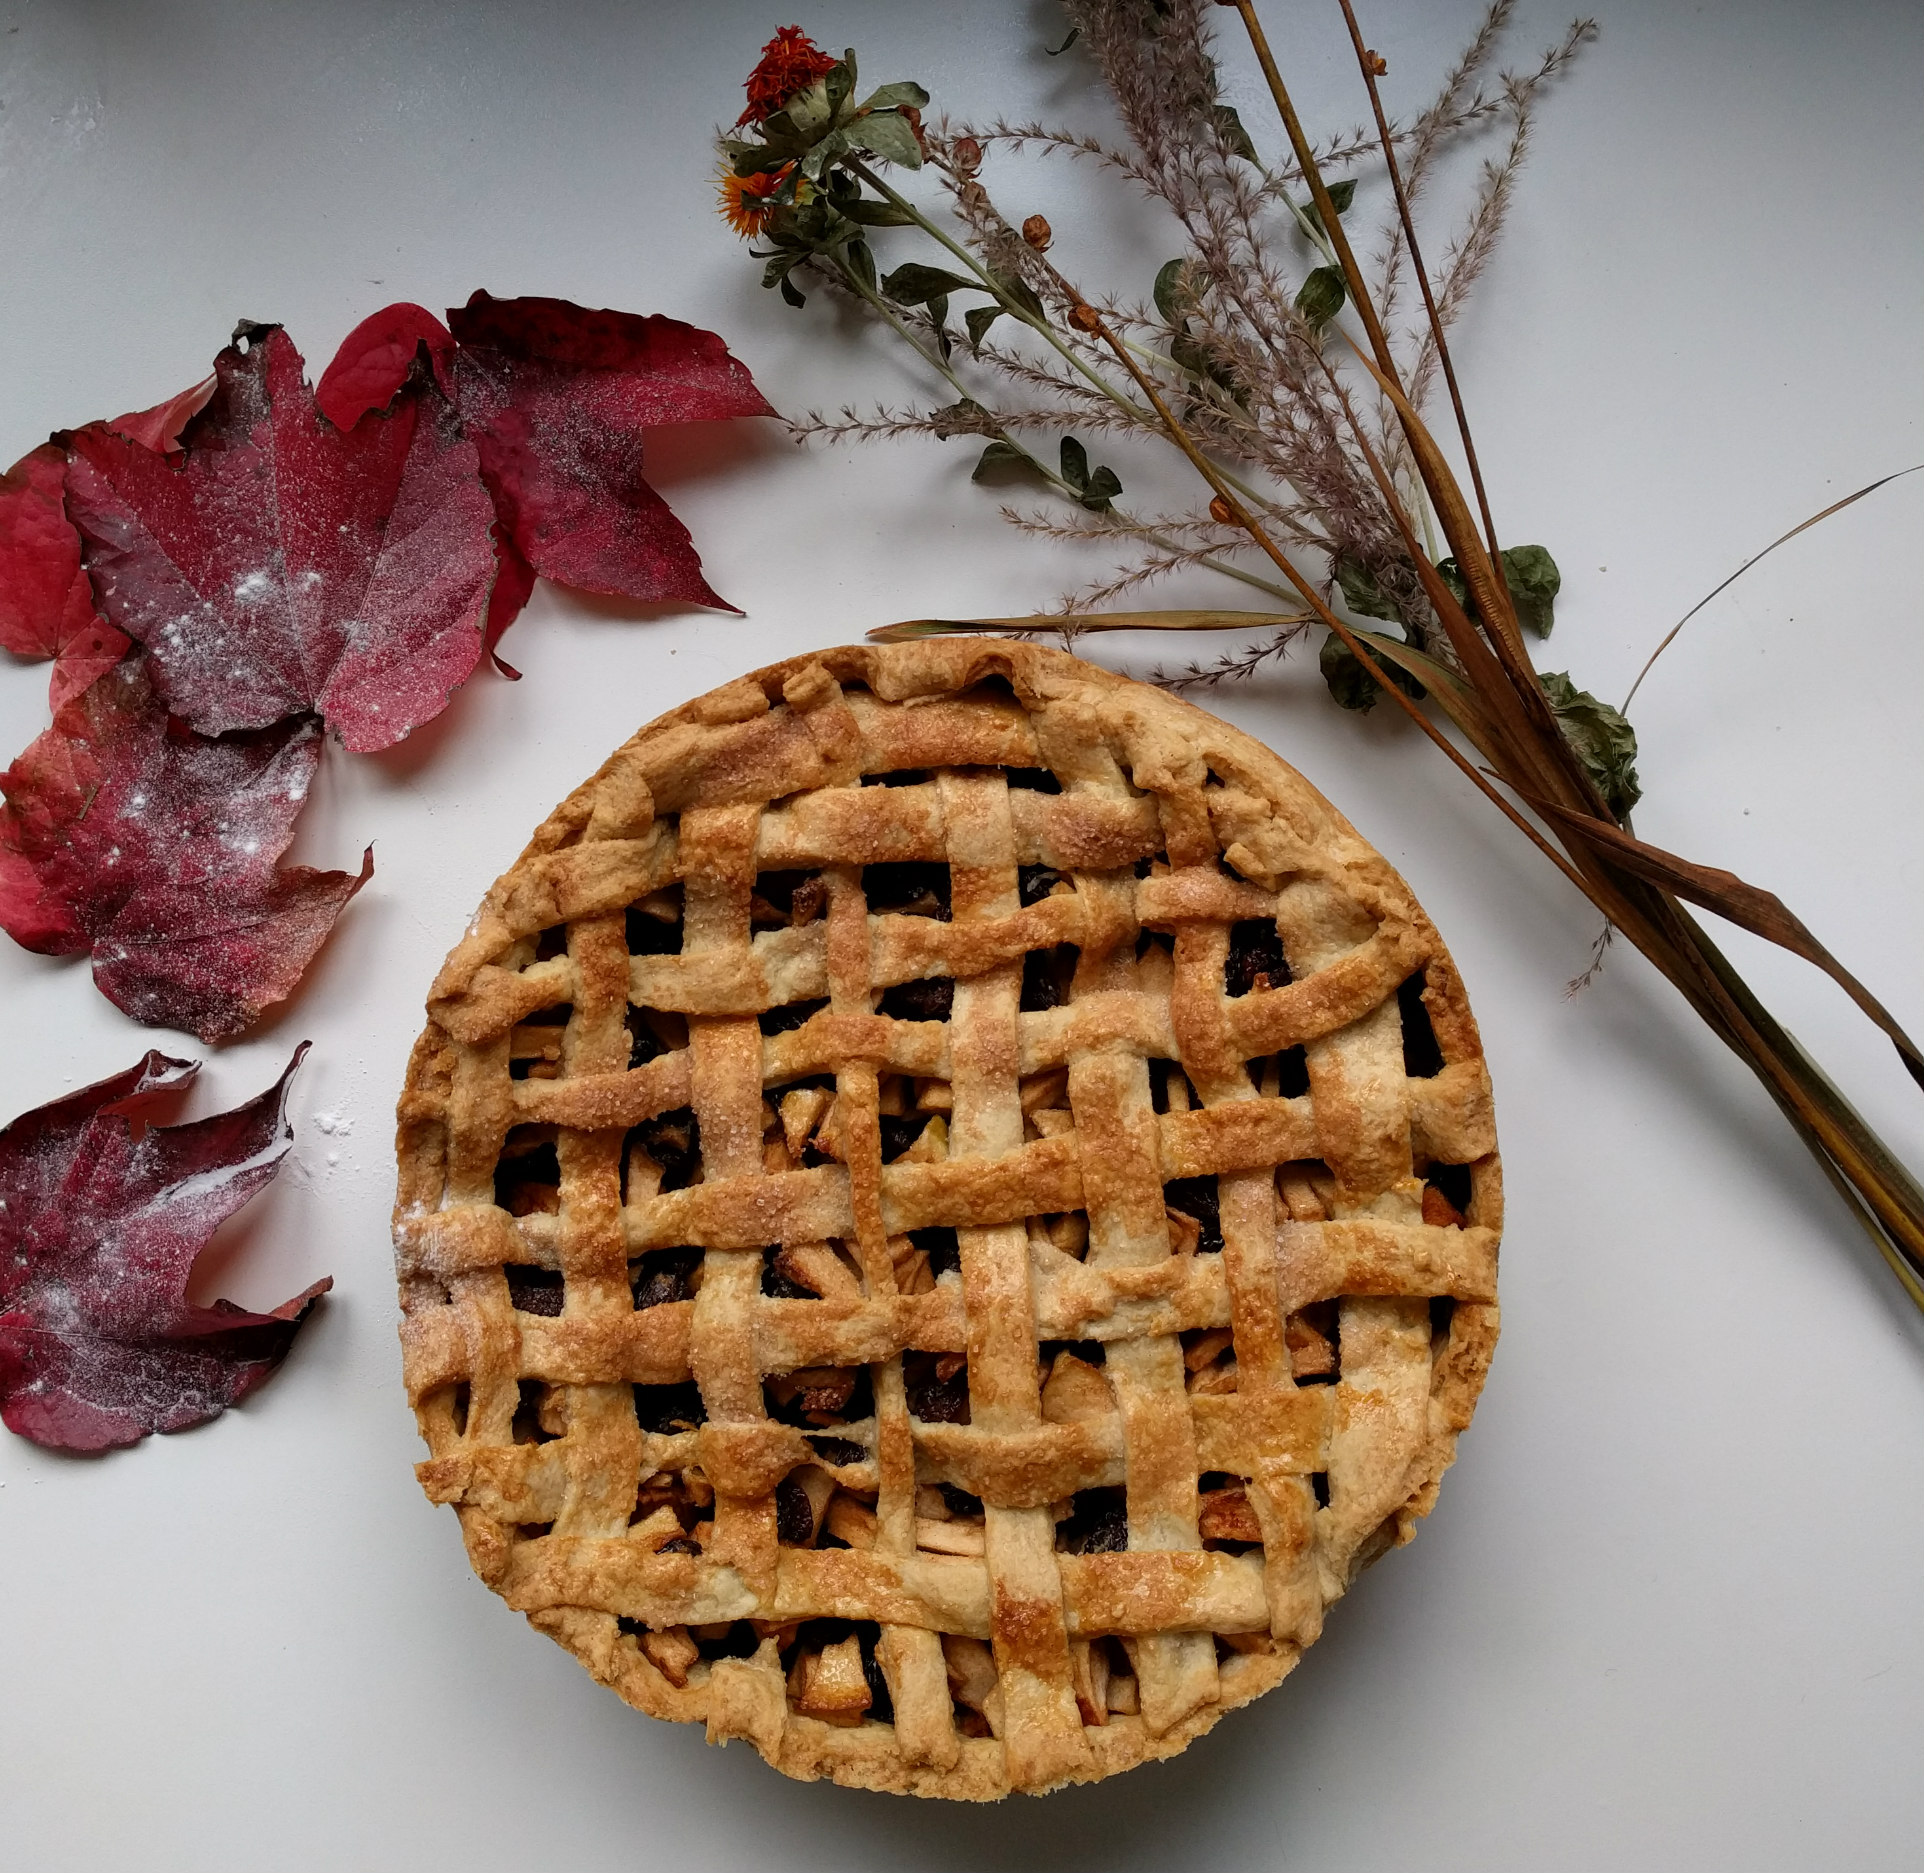
What do you need?
– A bowl
– Baking tin
– Wisk
– Rolling pin
– 500 grams of self-raising flour- 250 grams of butter half being plant-based butter (or margarine) and the
other part ‘real’ butter (I used a cookie and cake butter).
– 100 grams of caster sugar
– A little bit of water
– 50 gram ground almonds (optional)
What do you need to do?
– Make sure the butter is at room temperature because that will make it much easier.
– Do the flour in the bowl as well as the butter in small pieces.
– Put your hands (after washing, and drying) in the bowl. Then from the bottom to the top, put the butter through your fingers to lightly press it together with the flour. Do this until it’s breadcrumb consistency
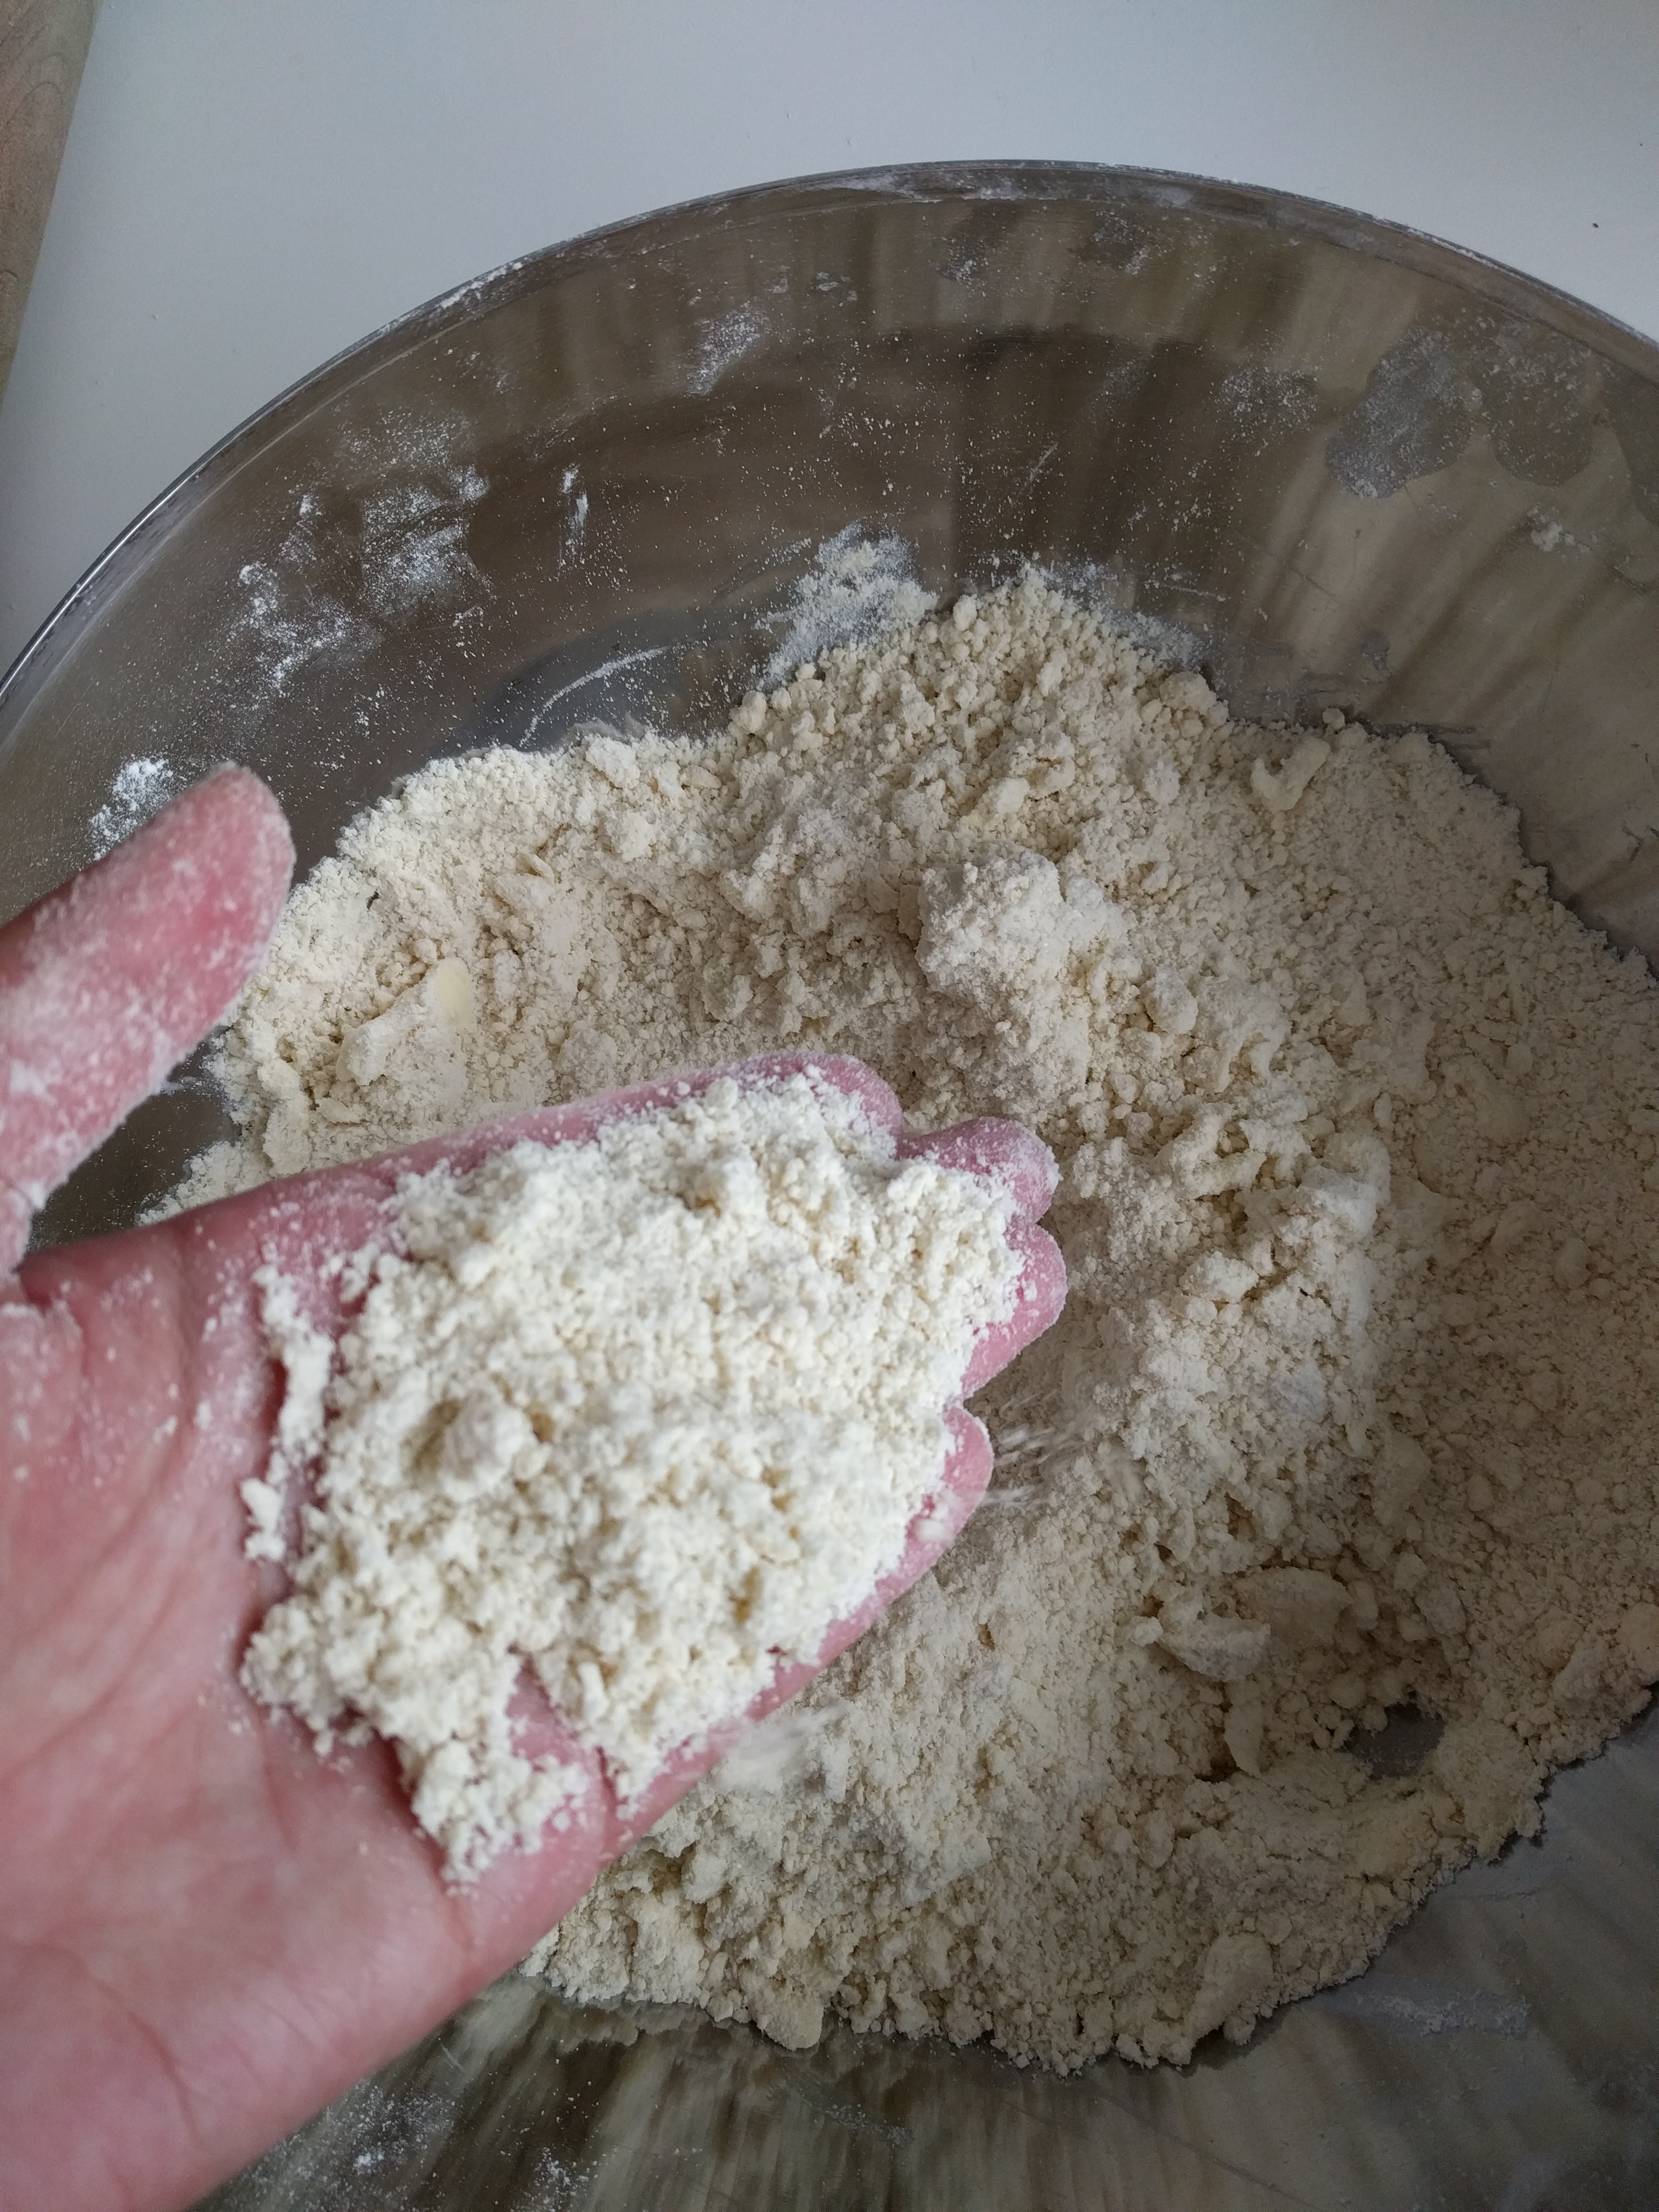
– Then add a tiny bit of water, now just a tiny bit, you can always add more.
– Mix this from the sides of the bowl, and squeeze with your fingers. The texture shouldn’t be sticky, so it’s important not to use too much water. Now you can knead it in a ball (not sure if that’s the right word, just make a ball of it).
– Put it in the fridge for a bit (like 30 minutes)
Most of the time, this is the time when I make the filling for my pie.
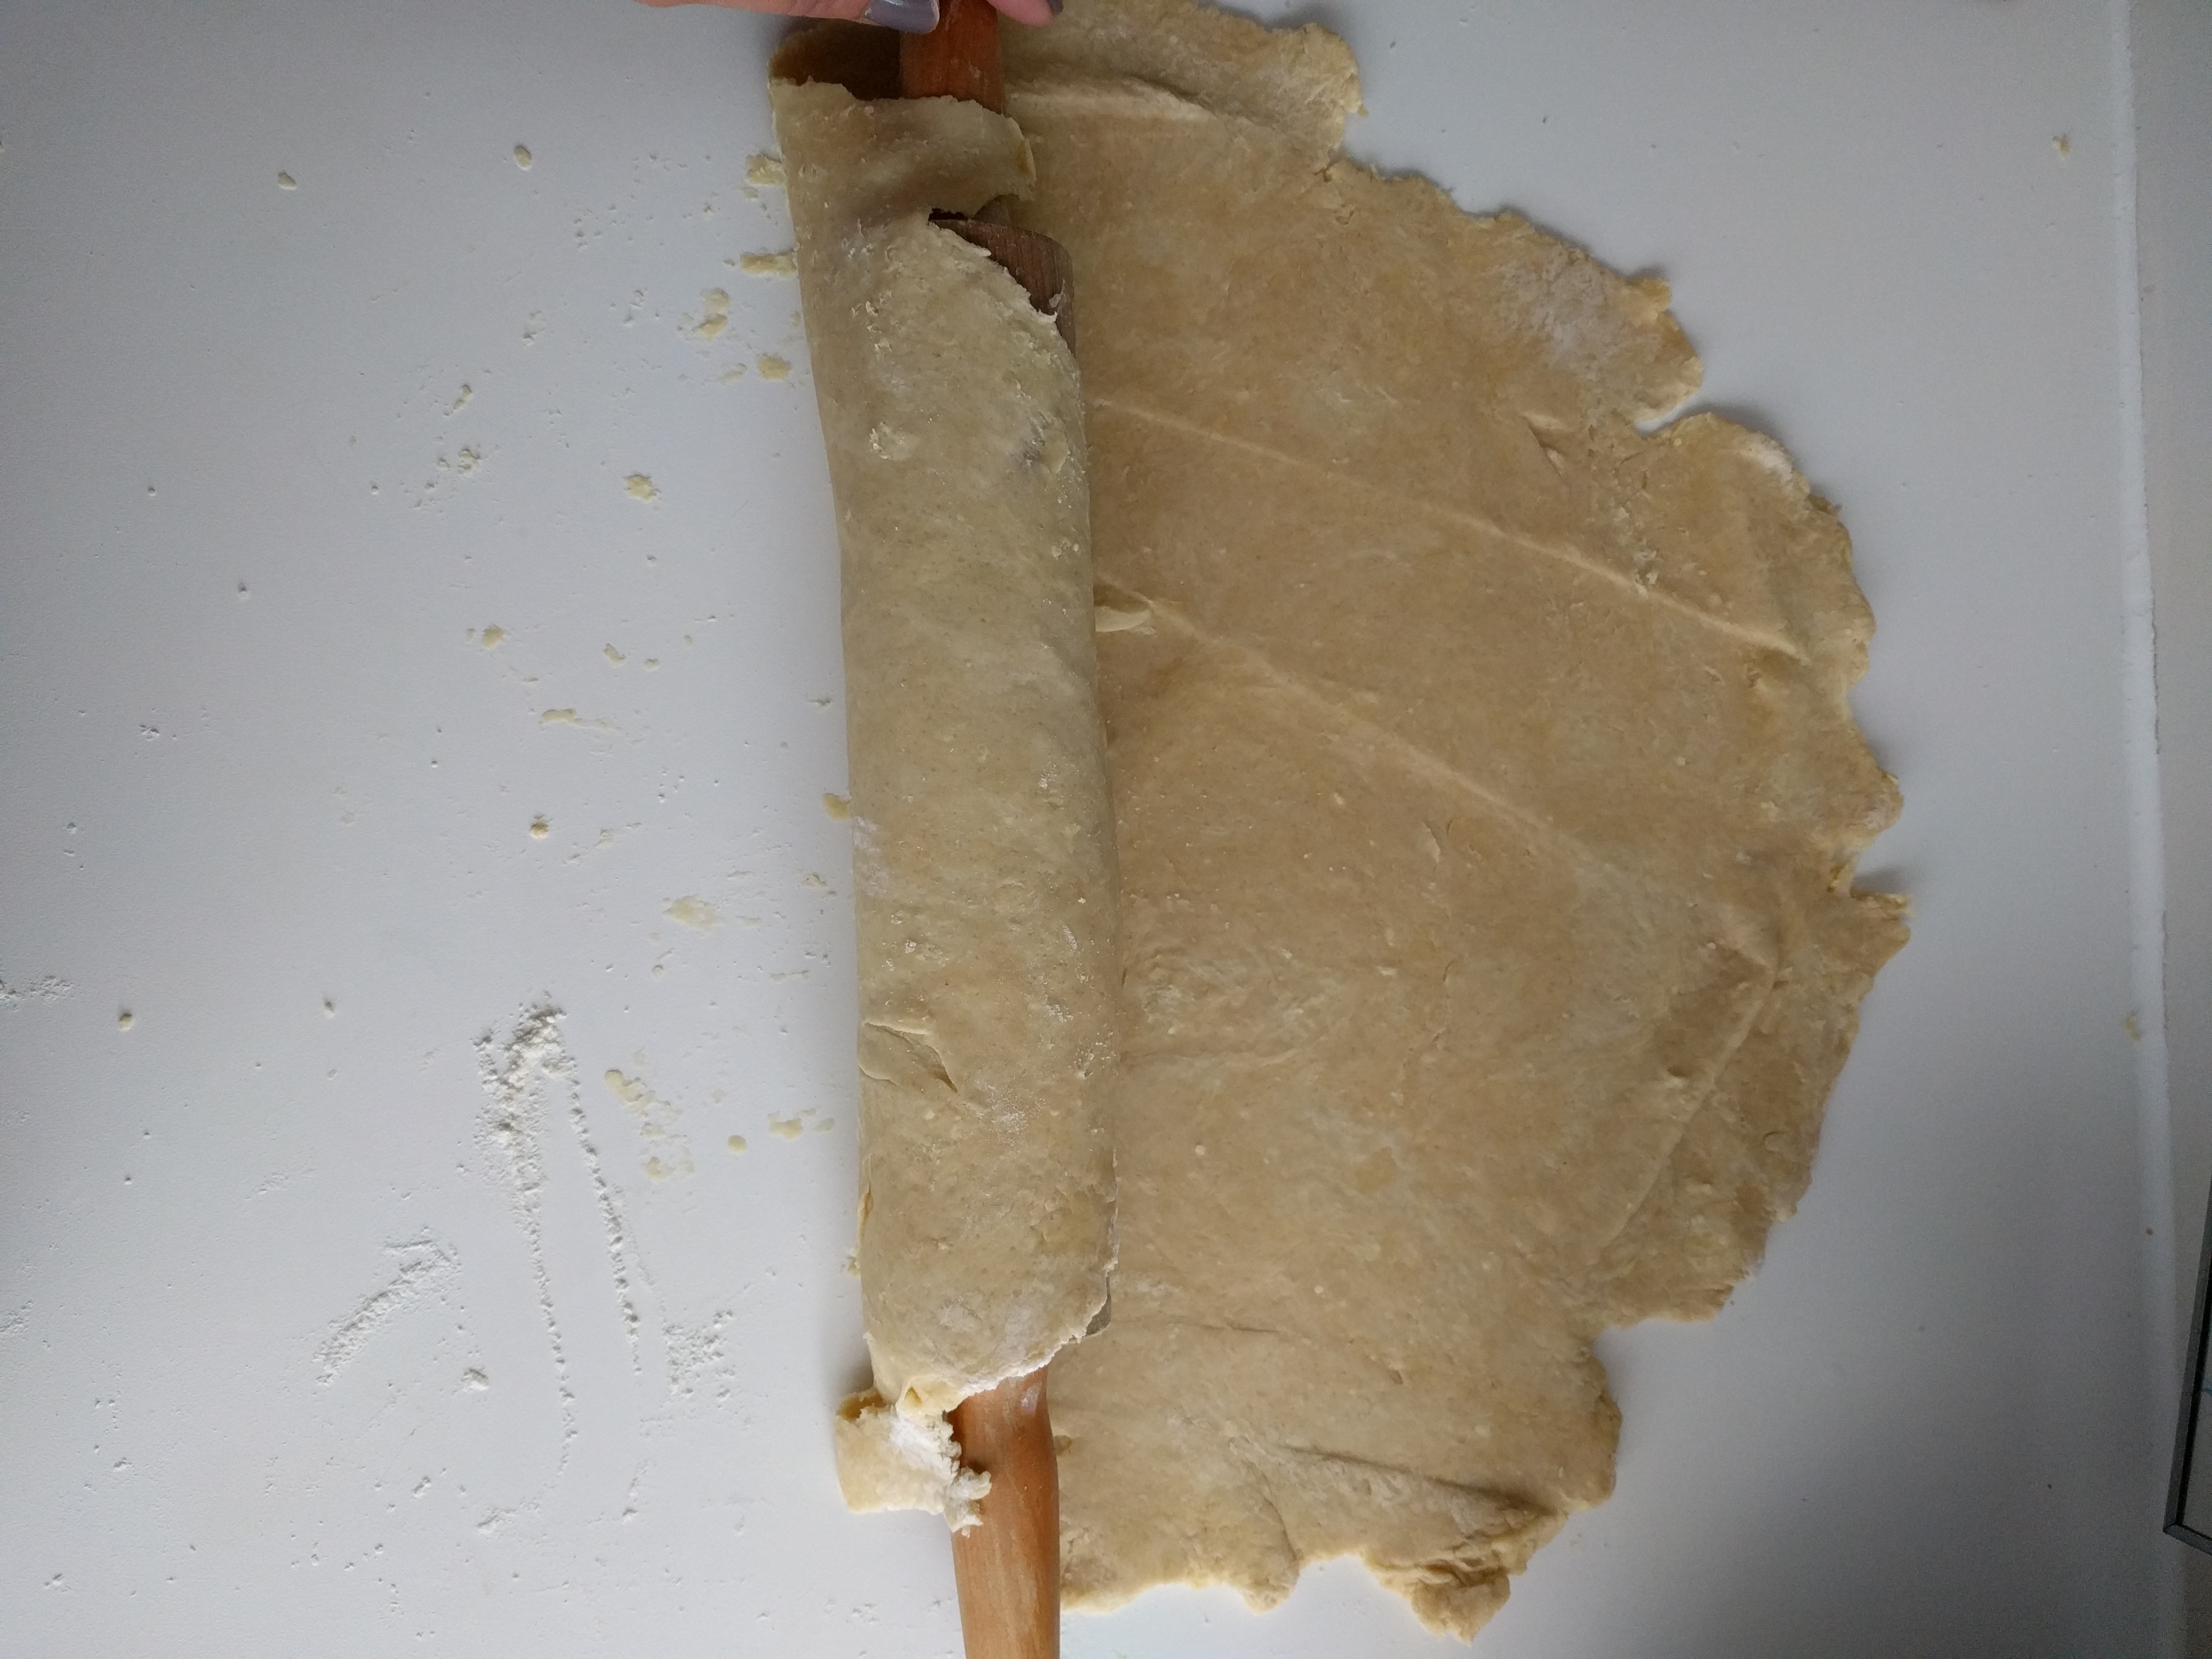
– Add a bit of flour to your countertop, after you clean it
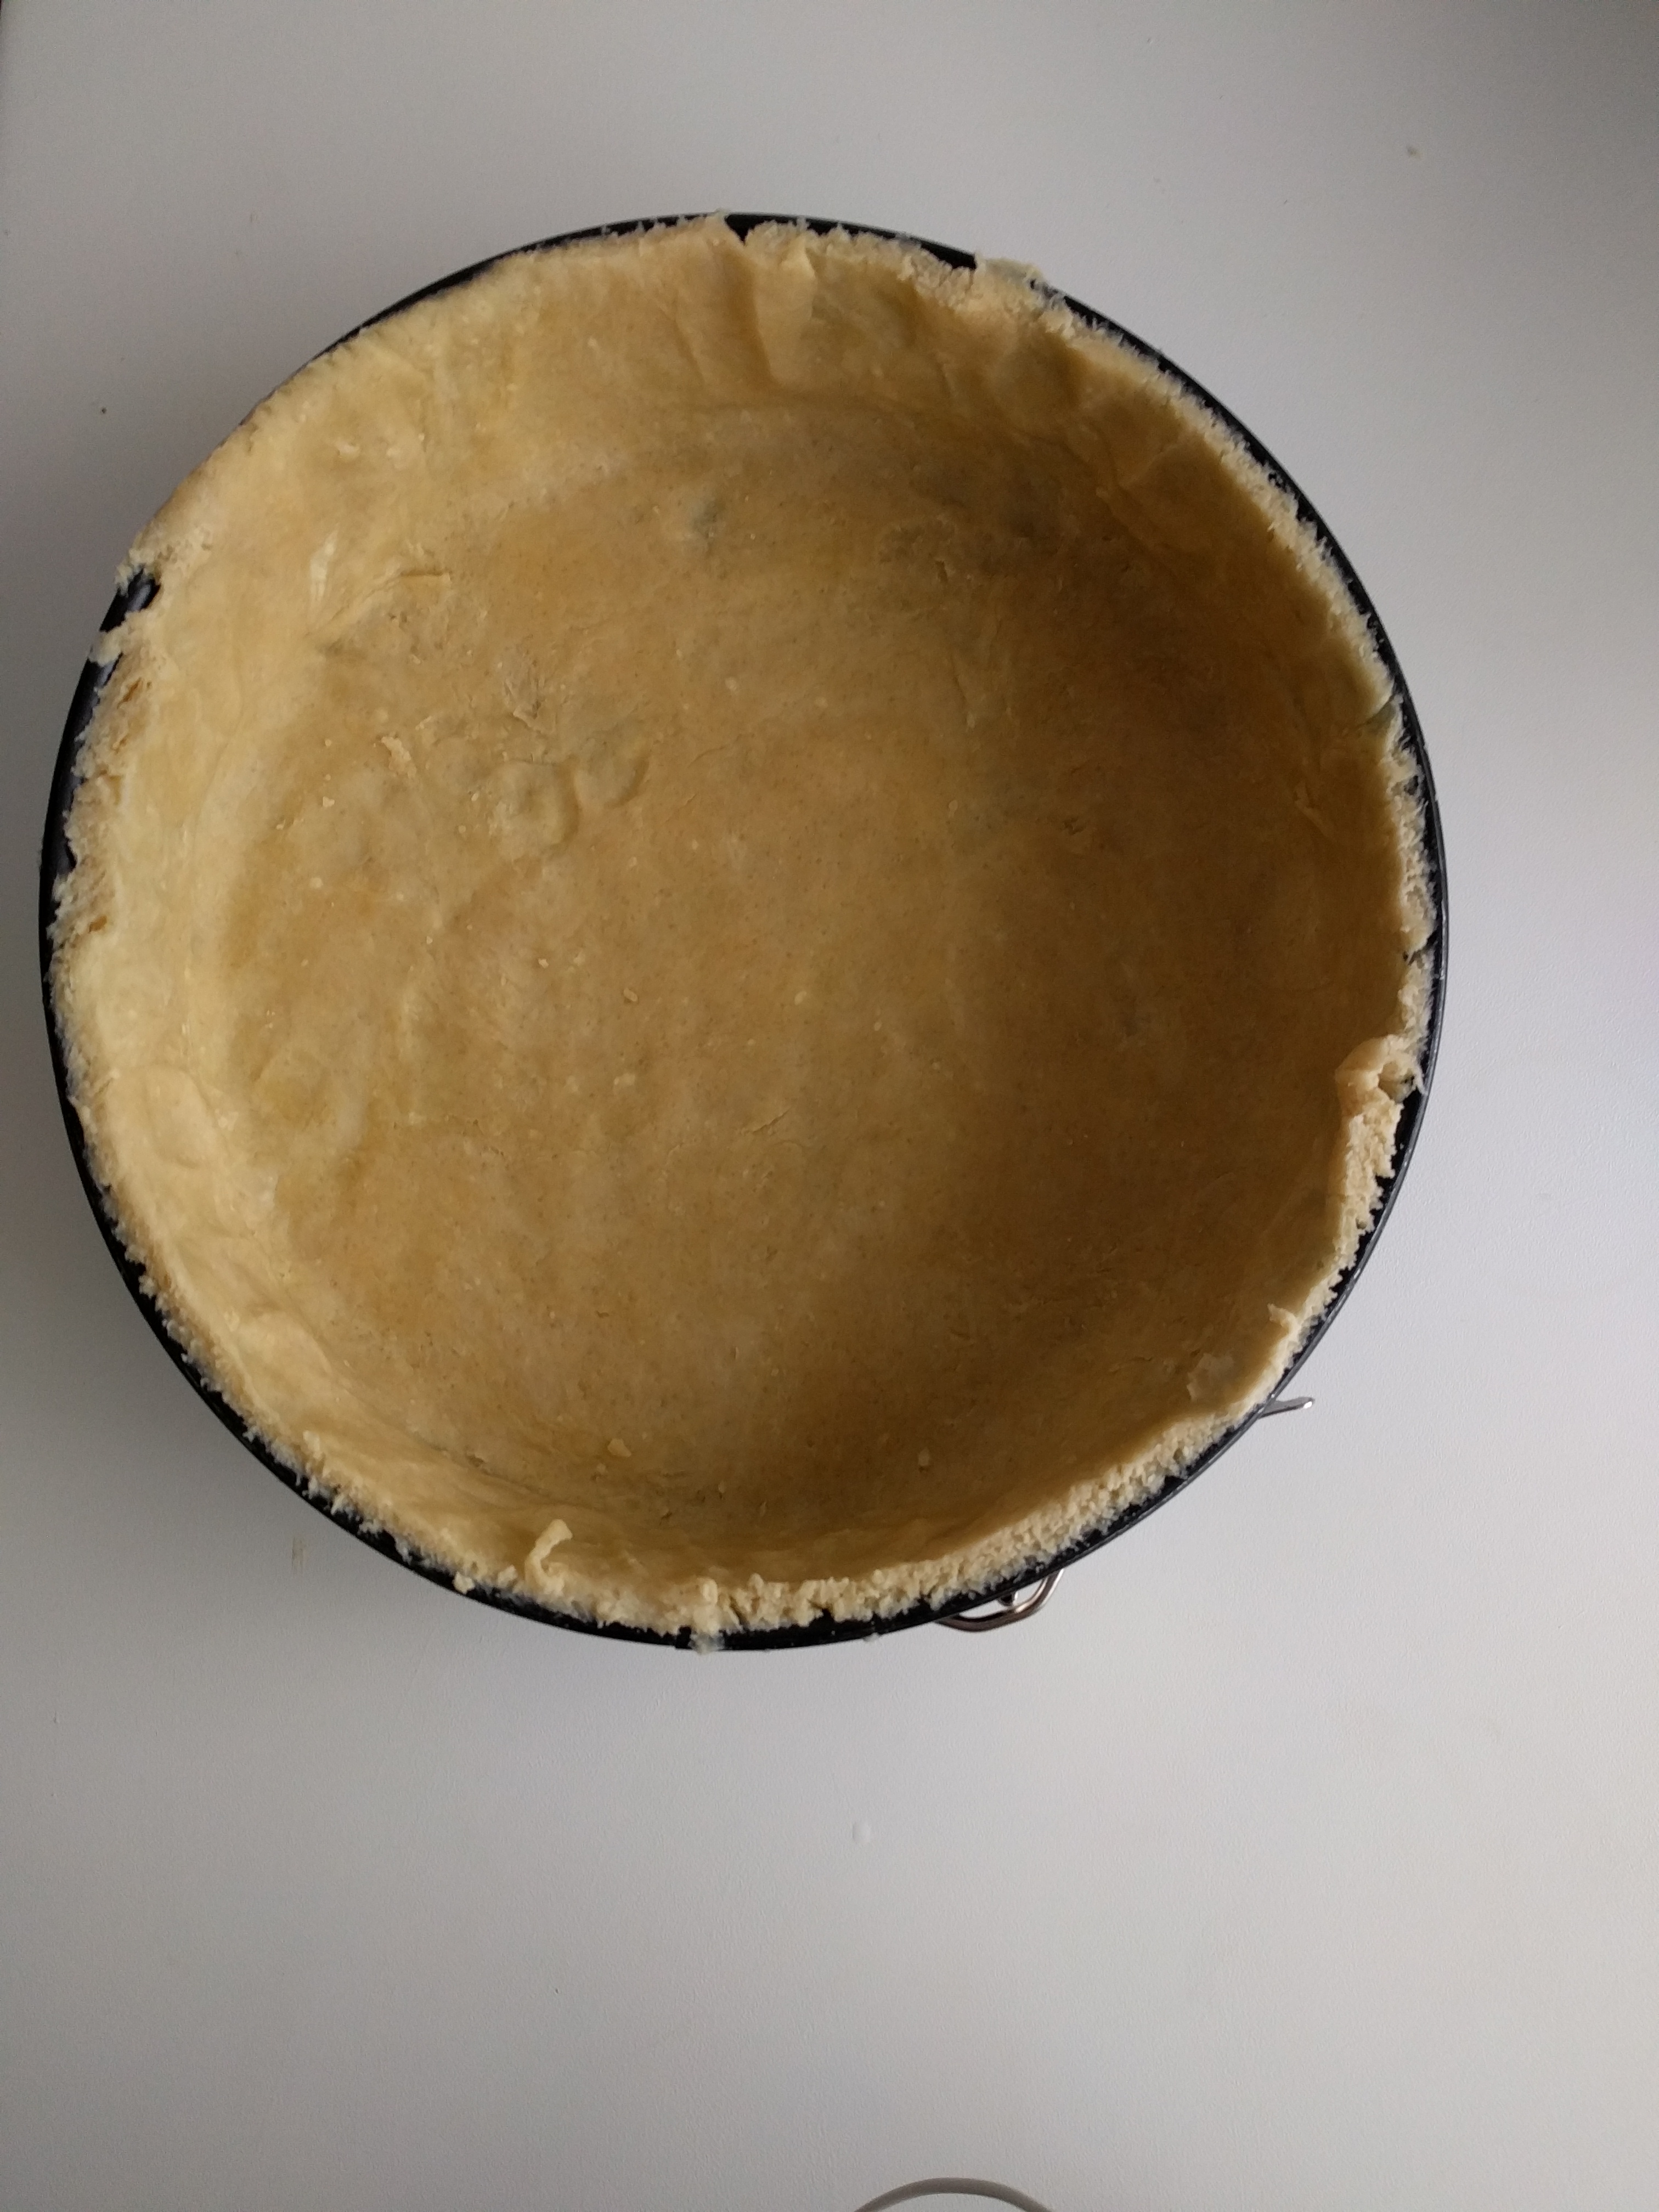
– Roll your pastry out on your countertop, and put your tin on top to see if it’s big enough.
– Then you put the pastry in the tin… Then lightly lift the sides so it can drop down in the tin.
– Then put the tin sideways and cut off the top (don’t do this if you are very young, ask an adult for help)
Done you are, now you can add your filling and put your pie in the oven. As always, make this recipe your own, if you want you change it, or add things. Go all for it, let me know how it goes and how it worked out! I would love to know.
Happy baking!
Lots of love,
Melissa